How To Start A Podcast With Riverside FM (The Beginner's Guide!)
There are endless “how to start a podcast” guides out there, and most of them make the whole thing feel harder than it is.
We’ve worked on pretty much every podcast setup you can think of.
Full studios. Virtual interviews. Multi-host shows. Short series. Long, in-depth conversations.
If you’re just testing whether podcasting is right for you, you don’t need a studio, guests, fancy lights, or a $400 mic.
You need a simple workflow that doesn’t overwhelm you.
This is that workflow.
And the easiest place to start is with Riverside.fm. The free version lets you record, edit, download, and publish without paying anything.
Below is a beginner-friendly blueprint to get your show off the ground.
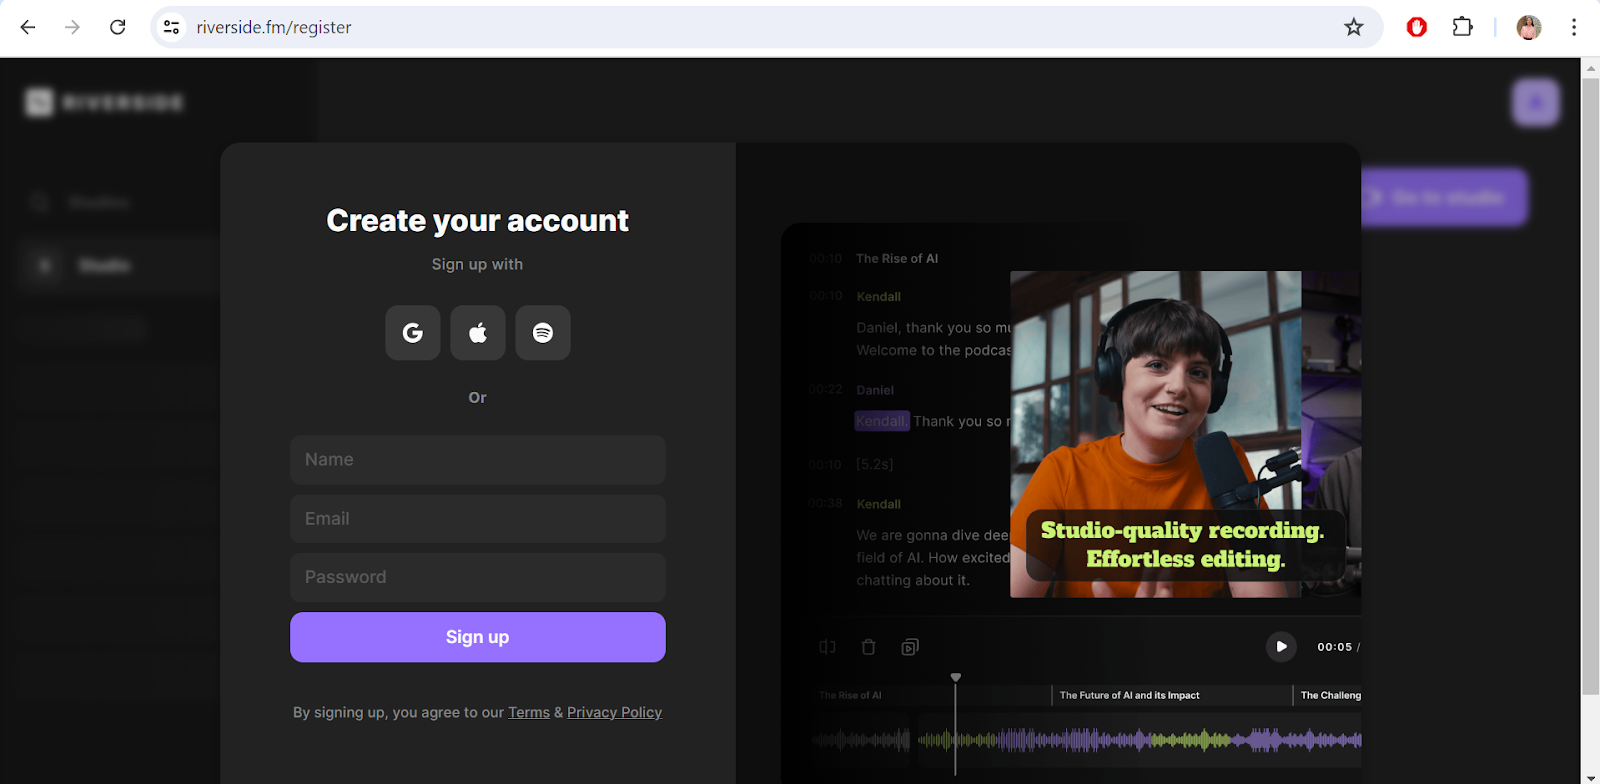
Step 1: Create a free Riverside account
First, set up your workspace.
Go to Riverside.fm
Click Get Started
Sign up with email, Google, Apple, or Spotify
Riverside automatically creates a default “studio.”
This is your virtual recording room.
Inside the studio, open Settings. Here’s what everything means:
Studio Name
Rename it to your show or company name. It looks more professional in invites.
Recording Mode
Choose Audio Only or Audio + Video.
If you’re unsure, choose Audio + Video. Even if you don’t publish video, it helps with editing and social clips.
Noise Reduction
Use it only if your room is noisy.
In a quiet space, turning it off gives cleaner sound.
Video Resolution
Free: 720p
Paid: 1080p or 4K
For beginners, 720p is completely fine.
Transcription Language
Select your language. This improves transcript accuracy.
Countdown Timer
Leave it on. It gives you a moment to breathe before recording starts.
Auto-Record
Most beginners keep this off so they can chat with a guest before the session begins.
At this point, all your basics are set.
Step 2: Set up your recording space
You don’t need a studio. A quiet room and headphones are enough.
Every time you enter your studio, Riverside runs a tech check:
Microphone Input
If you don’t own a mic yet, use your laptop mic. Upgrade later.
Camera
Your laptop webcam or phone is fine.
Speaker Output
Choose headphones. This prevents echo.
Headphone Confirmation
Select “Yes.” This keeps your audio clean.
Step 3: Decide Your Format Before Recording Anything
New podcasters often overcomplicate things.
If you’re testing the waters, keep it simple and avoid formats that require coordination or heavy editing:
multiple guests
co-hosts
live shows
scripted intros
narrative formats
sound design
Instead, choose one of these beginner-friendly formats:
Solo Audio Commentary
Record 8–12 minutes on one topic. This builds rhythm and confidence.
Solo Video Episode
Same idea, but with video. Great for repurposing content later.
Virtual Guest Recording
Send your guest a link. They click, and you record in the browser.
Riverside also lets you schedule sessions, send invites, assign a producer, and store everything automatically.
Step 4: Prepare Using Riverside’s Built-In Tools
Riverside replaces a bunch of external tools beginners usually juggle.
Inside the studio you’ll see:
Script Area
Write your intro, bullet points, or questions.
Paid plans offer a teleprompter view.
Lower Thirds
On-screen labels for video podcasts. Optional at the start.
Chat Panel
Great for notes or communication with a guest/producer during recording.
Branding Controls
Logos, colors, layouts on paid plans. Not needed for your first episodes.
Clip Marker
If something important happens, click “Mark Clip.”
It saves time when editing later.
All of this helps you stay organized without bouncing between apps.
Step 5: Record Your Episode
Press the Record button.
You’ll see a quick countdown, then you’re live.
A few things to know:
Local Recording
Riverside records each person on their own device.
So your audio stays clean even if your internet dips.
Cloud Syncing
After you stop recording, let everything upload.
Don’t close your browser early or you risk losing files.
Stop vs. End Session
Stop = ends the recording
End Session = closes the studio
You can still talk to your guest after you stop.
Step 6: Edit Your Episode Inside Riverside
Riverside’s editor is built around your transcript, which makes editing very simple.
You’ll see your full transcript.
Highlight text → press delete → the audio/video cuts itself.
You can also:
add captions
switch layouts
add music or images
crop vertical clips
export to Premiere or Final Cut
For your first few episodes, keep editing light.
Cut obvious mistakes and long pauses. Don’t chase perfection.
Step 7: Download and Publish
Once you’re happy with your episode, you can download:
• raw audio files
• raw video files
• separate tracks for each participant
• the cloud backup version
Now you can publish everywhere:
• Spotify for Podcasters (free hosting)
• Apple Podcasts
• YouTube
• RSS platforms
Your early episodes don’t have to be perfect.
Finishing the workflow matters more than polishing every second.
Podcasting doesn’t require a studio, a fancy mic, or advanced editing software.
You only need a quiet room, headphones, and Riverside.
This setup lets you experiment without spending money or learning complicated tools.
If you want the done-for-you version, record the conversation and we take care of everything else.
If you want the DIY version, this guide gives you everything you need to create your first episodes this week.